Merchant self-authorization is an authorization mechanism based on the OAuth 2.0 protocol. It enables developers to facilitate merchant authorization through a standardized process, without contacting the Keeta team for manual processing. The entire authorization process is secure and efficient.
Keeta provides two integration modes for developers who need automated token acquisition:
- Server Callback Mode: Keeta pushes the authorization code directly to a Webhook URL via HTTP GET. This mode is suitable for vendors who do not have merchant-facing frontend pages.
- Standard OAuth 2.0 Mode: Keeta redirects the merchant's browser to a
redirectUridevelopers specify in the authorization link, carrying the authorization code as a query parameter. This mode is suitable for developers who have their own frontend pages and want merchants to land on their system after completing authorization.
The following sections walk through each mode in detail, covering the full authorization workflow and integration steps.
Related APIs & Webhooks
The following APIs and Webhook events are involved in this flow. Refer to the linked references for request parameters, response fields, and signature verification details.
- Authorization Code Notification Webhook(Event ID: 1): The Webhook notification, bringing auth code, sent by Keeta to the vendor's configured Webhook URL after merchant authorization. View reference
- Get Token API: Exchange the authorization code for an access token and refresh token. View reference
- Get Merchant Authorization Information API: Retrieve the brand ID and authorized store list after obtaining the access token. View reference
In Server Callback Mode, the authorization code is delivered server-to-server. The developer configures a Webhook URL for Event ID 1 in the Developer Portal, then generates an authorization link and provides it to the merchant. After the merchant completes authorization on the Keeta merchant platform, Keeta sends the authorization code directly to the configured Webhook URL via HTTP GET. The developer's backend receives the code and exchanges it for an access token — no frontend page is involved on the developer's side.
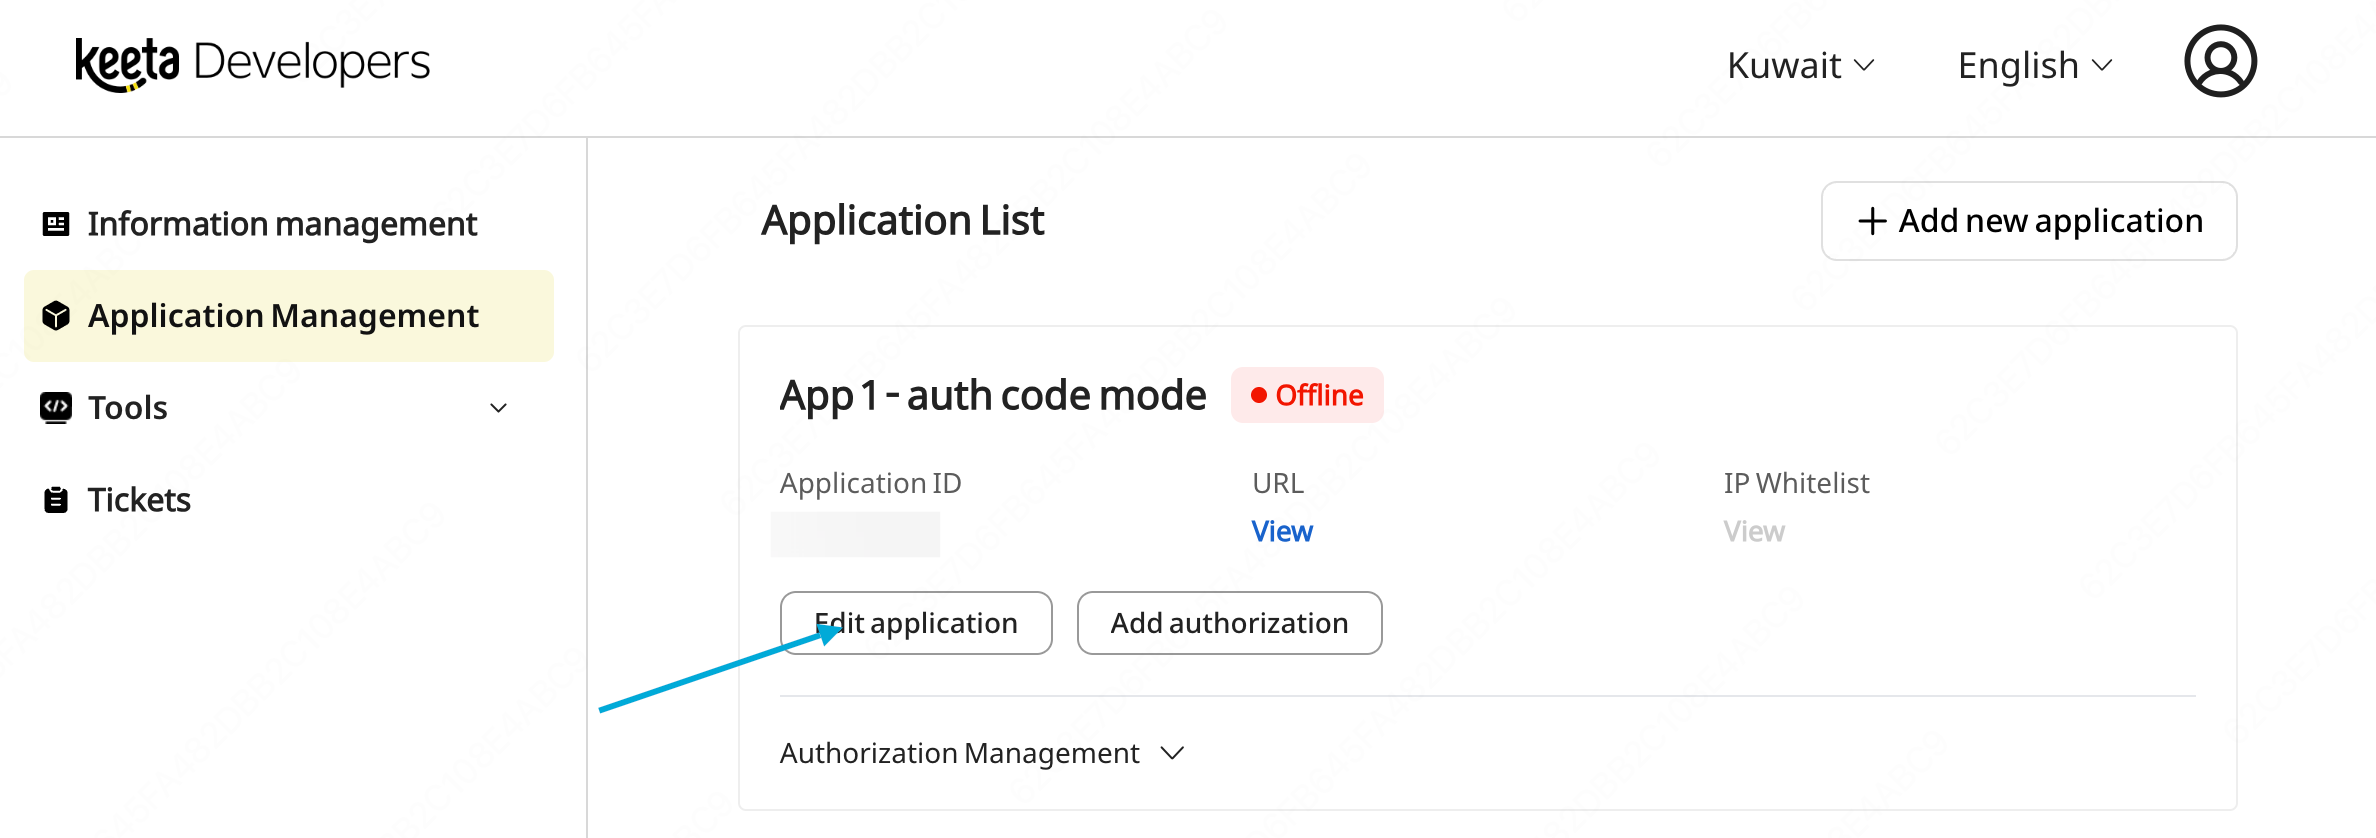
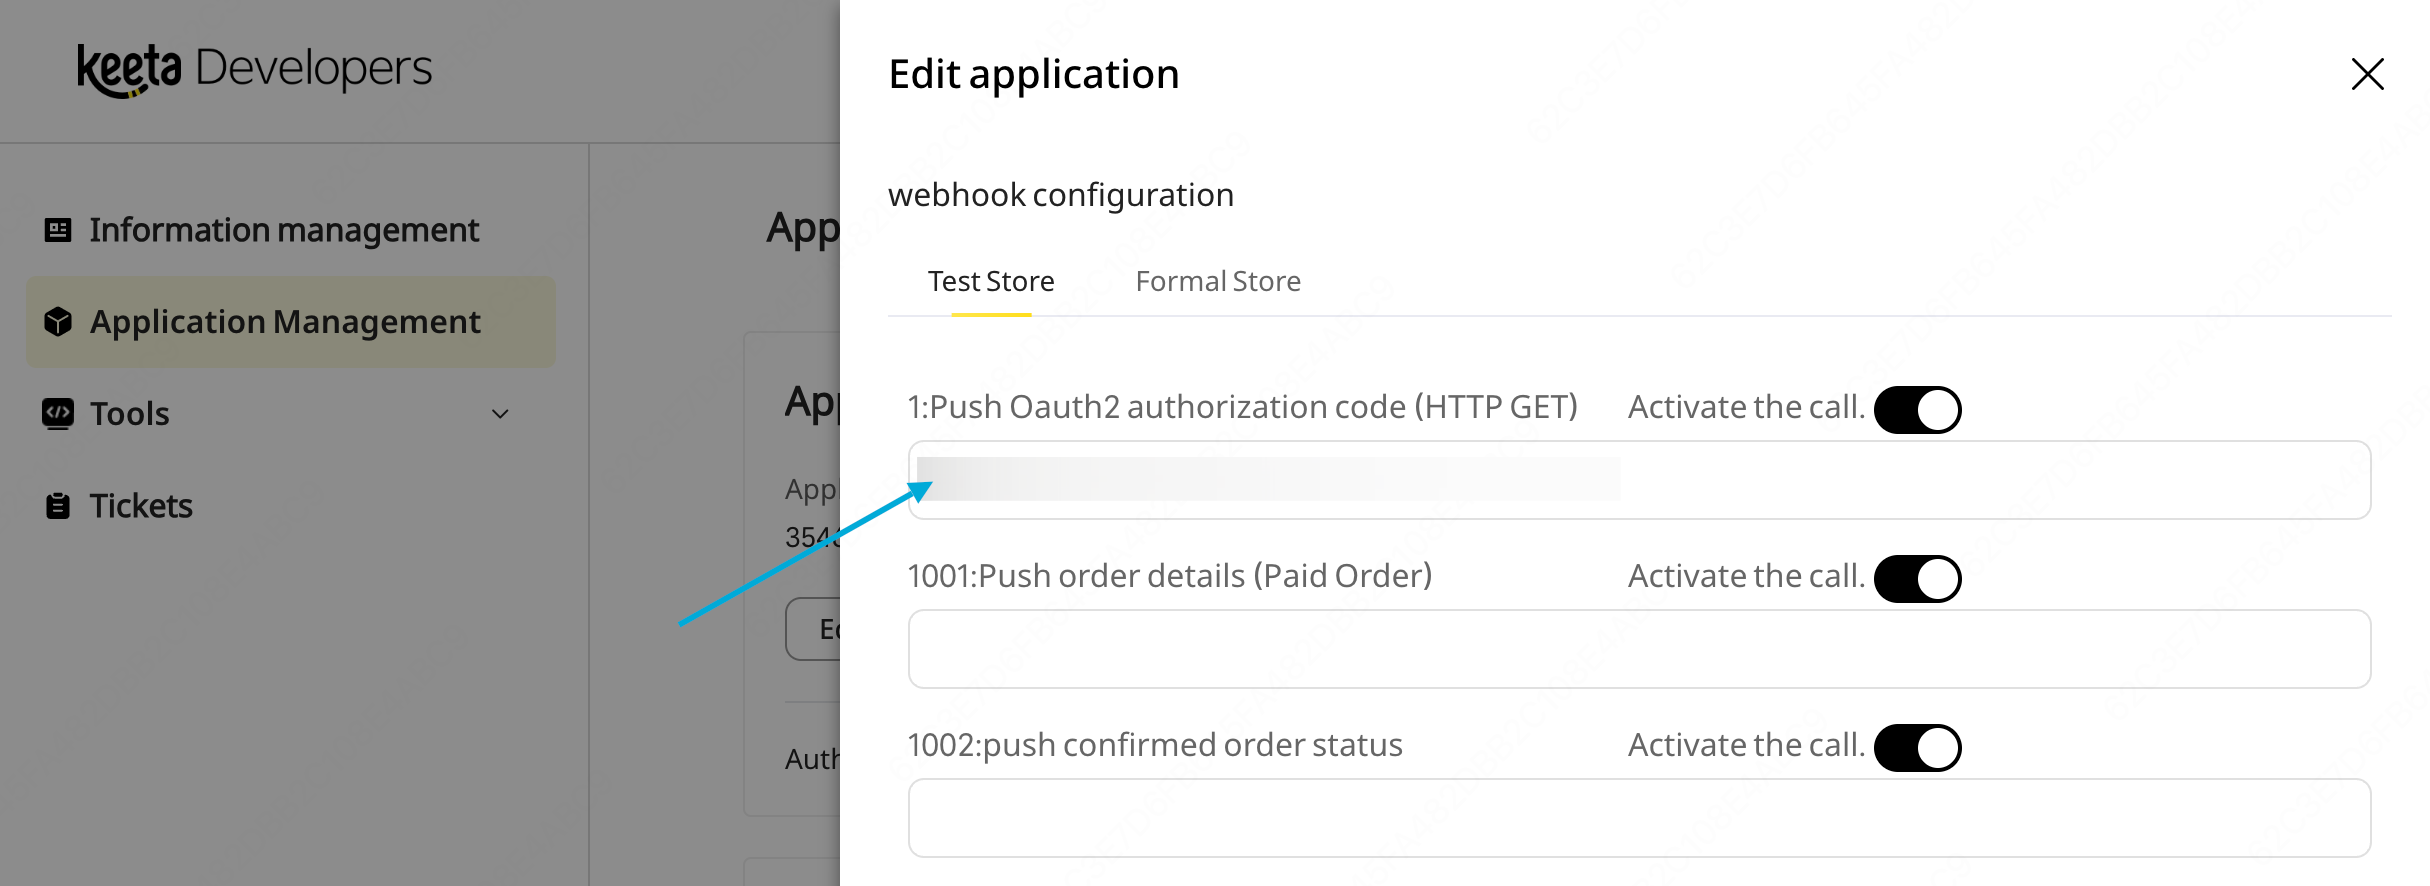
Configuring the webhook URL
In the Developer Portal, open Application Management / Edit Application. Under Push Oauth2 authorization code, enter the redirect URL in the Webhook URL field. This is the base domain Keeta will redirect to after merchant authorization.
 Workflow
In Standard OAuth 2.0 Mode, the authorization code is delivered via browser redirect. The developer would need to concatenate an authorization link with a redirectUri and state parameter and distribute to merchants. After the merchant completes authorization on the Keeta merchant platform, Keeta redirects the merchant's browser to the specified redirectUri with the authorization code appended as a query parameter. The developer's frontend page captures the code and passes it to the backend to exchange for an access token.
Concatenating the authorization link
The base authorization link can be obtained by clicking Add Authorization on the Application Management page. The developer then appends redirectUri and state to the link before sending it to the merchant.
- Base link:
merchant.mykeeta.com/m/web/openapi/authorize?responseType=authorization_code&appId=YOUR_APP_ID&redirectUri=&state=&scope=all- Modified link (with
redirectUriandstatefilled in, parameter order does not matter):
merchant.mykeeta.com/m/web/openapi/authorize?responseType=authorization_code&appId=YOUR_APP_ID&redirectUri=https://your-site.com/auth/callback&state=YOUR_STATE&scope=allThe redirectUri is the exact page on the developer's site where the merchant should land after authorization. The state is an opaque value defined by the developer, returned unchanged by Keeta, useful for identifying which merchant or session initiated the flow.
Configuring the redirect URL
Keeta requires vendor developers to configure the same redirectUri under the Push Oauth2 authorization code for security purposes.
Workflow
Once a merchant has completed authorization, they can manage the authorized store scope at any time through the Keeta Merchant Portal: adding stores, removing stores, or fully revoking brand authorization. Keeta notifies the vendor's system of these changes in real time via Webhook, so the vendor can keep its local store mapping synchronized.
Vendors who have integrated merchant self-authorization should subscribe to these events to ensure their system always reflects the current authorized store scope.
Store Authorization Change (Event ID 1301 / 1302)
Brand Authorization Removal (Event ID 1303)
To receive these notifications, configure a callback URL for each event in the Developer Portal under Edit Application → Webhook Configuration.
- When a merchant adds stores to an existing brand authorization, Keeta sends Event ID 1301. View reference
- When a merchant removes stores from an existing brand authorization, Keeta sends Event ID 1302. View reference
- When a merchant fully revokes authorization for a brand, Keeta sends Event ID 1303. Upon receiving this notification, the vendor's system should treat the associated access token as invalid. View reference